
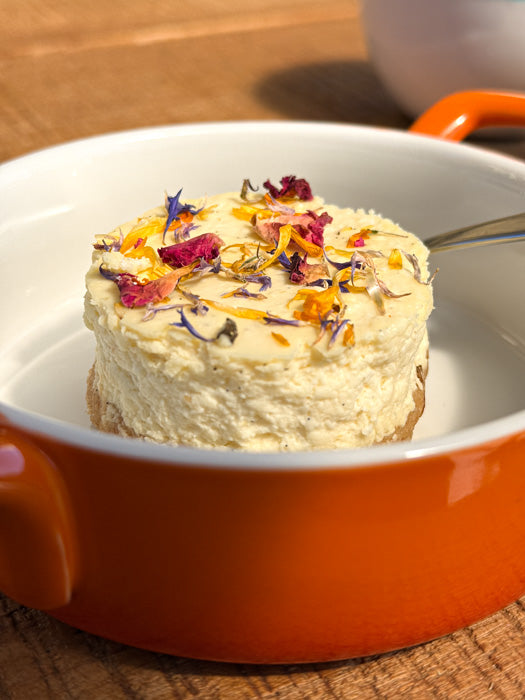
These delicious curd cheese doughnuts aren't about tradition or speed, even though they are fast. They are primarily about flavor. About a delicate structure, an orange scent, and curd cheese that doesn't push too hard but carries the entire dessert. Proudly. All the way to the plate. These doughnuts remind me of Italian Castagnole di Ricotta – they are equally light, round, and elegant. These are exactly the homemade doughnuts you'll enjoy in peace with a coffee, feet up.
Delicious curd cheese doughnuts – and how to achieve them?
To achieve that promised "elegant and light structure," I replaced the classic all-purpose flour in my original recipe with an Italian confectionery specialty. I noticed the difference immediately. Suddenly, they became the most fluffy doughnuts made from curd dough I've ever baked.
Why did I choose Farina per Dolci flour?
While fine-tuning the recipe, I was looking for a flour that would support the delicacy of these specific doughnuts.
- The "Velvet" Effect: Classic all-purpose flour has a coarser granularity. Italian Farina per Dolci (type 00) is extra finely milled. In a dough with high moisture content (like curd cheese), this flour combines better and creates a texture that isn't "bready" or tough, but resembles a delicate cake.
- Ideal Strength (W 220 – Italian flour rating): This flour has precisely calibrated gluten. It is strong enough so the doughnut doesn't crack in hot oil and maintains its round shape, but simultaneously "weak" enough so the result is crisp upon biting and melts on the tongue. With ordinary all-purpose flour, the curd cheese doughnuts would be a bit more rubbery.
Tip from Mari
![]()
Curd dough is heavier than yeasted dough. To make it fluffy, it needs fine flour and time to rest so the flavors can meld. Don't underestimate the oil temperature – 165 to 170 °C is just right so the doughnuts cook through to the center, don't burn on the surface, and aren't full of oil. Measuring the temperature is therefore a must.

Recipe for Delicious Curd Cheese Doughnuts
Ingredients
(for approx. 14 to 16 doughnuts)
– 250 g soft curd cheese/Quark (or ricotta for a more authentic Italian flavor)
– 2 eggs, size M
– 60 g granulated sugar
– 10 g vanilla sugar (or a teaspoon of high-quality vanilla paste)
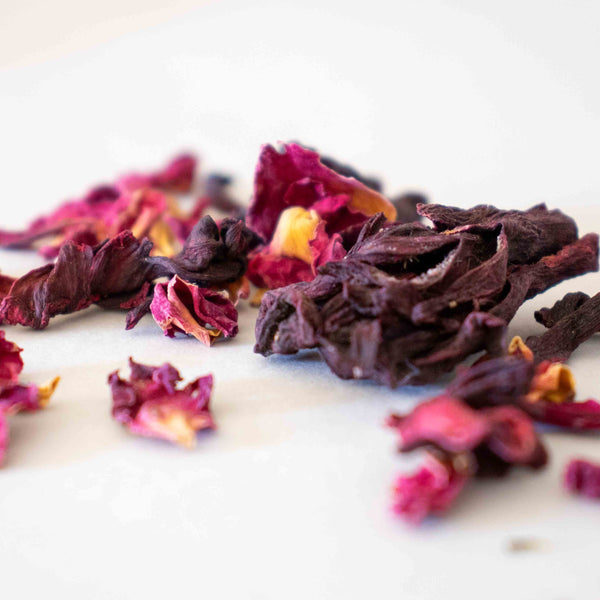
– Zest from 1 orange (finely grated)
– 150 g Farina per Dolci
– ensures a velvety crumb
– 1 teaspoon baking powder (approx. 4–5 g)
– 1 g salt
– Oil for frying
To finish: – Icing sugar or fine cane sugar – Optional: Liquid honey or orange syrup for drizzling
Preparation
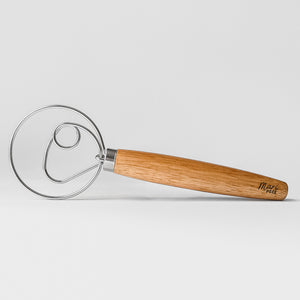
1. Preparation of the curd base In a bowl, combine the curd cheese (or ricotta), eggs, granulated sugar, vanilla, orange zest, and salt. Mix best with a Danish whisk. No need to whisk into a foam; just combine the ingredients, which is why this whisk is my great professional tool.
2. Incorporating the flour Sift the baking powder into the Farina per Dolci flour. Gradually incorporate this mixture into the curd base. A soft, moist dough will form that holds its shape but is sticky.
3. Resting (The key to success) Let the dough rest for 10 minutes. During this time, the flour will absorb moisture from the curd cheese, making the dough easier to handle.
4. Heating the oil In a deeper pan or pot, heat the oil to approximately 165 to 170 °C. The temperature here is lower than for classic doughnuts to allow them to cook through inside and stay creamy. It's hard to estimate without a digital thermometer – if the oil is too hot, the doughnuts will darken quickly but remain raw inside.
5. Shaping and frying Shape the dough into balls using two spoons (or oiled hands - which I prefer) and carefully place them into the hot oil. Fry in small batches from all sides until golden brown; it will take approximately 4 to 5 minutes. The doughnuts often turn themselves in the oil, which is a good sign.
6. Finishing Remove the finished doughnuts onto a paper towel and let them drain briefly. While still warm, lightly toss them in icing sugar. During cooling, you can turn them every now and then; this guarantees a perfect shape. They will then be truly round and delicious curd cheese doughnuts. When serving, you can drizzle them with a little honey or syrup – not just for sweetness, but for shine and aroma.
Bon appétit,
Mari
Postup
Jak na to krok za krokem
Tipy od Mari
Krásné pečení a ať se po výsledku zapráší.
Mari


Diskuze a hodnocení