

Want to bake your own homemade rolls at home and have them perfectly crispy? Then you're in the right place. Forget complex procedures and hours spent in the kitchen. A simple recipe for homemade rolls should primarily be about joy, not stress over sticky dough or the tedious weighing of every single piece. When you know what to watch out for, it almost goes by itself.
Are you just starting out with home baking and want to be sure of the basics? Download our free starter e-book, where I will guide you through the world of flour and leaven step by step.
We have prepared a procedure for you that will allow you to pull one beautiful piece after another out of the oven without spending your youth on it. What is our trick for simplicity? We skip the weighing of individual dough balls. Moreover, with our Classica flour, the rolls hold their shape on their own. They won't be flat pancakes, but exemplary pieces that rise beautifully in the oven and won't be rubbery the next day.
Technical Why: Gluten and Steam as the Foundation of Success
For rolls, gluten (the protein structure that gives the dough strength and elasticity) is absolutely crucial. If you don't knead the dough enough, it lacks the strength to hold its rolled shape and "spreads out" in the oven. We bet on our proven Classica flour. When it comes to grain, Italians focus on both flavor and technological quality, whereas elsewhere, the focus is often more on yield. This flour gives the dough the correct elasticity (the ability of the dough to stretch without tearing).
Another factor is hydration (the ratio of water to flour) and correctly chosen fat. Lard is common in Czech tradition, but the real winner for a moist crumb is high-quality sunflower oil. This ensures that the rolls stay soft even several hours after baking. During the first few minutes in the oven, "oven spring" (the expansion of the dough in the heat) plays the lead role. To prevent the crust from hardening prematurely and to allow the roll to grow, we must create steam in the oven. This keeps the surface of the dough flexible and allows for the creation of that legendary crispy crust.
Tools for Easy Baking
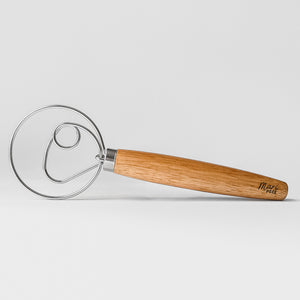
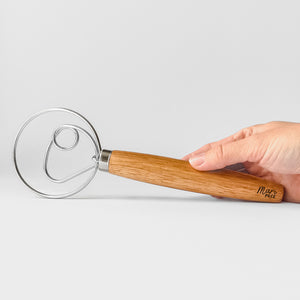
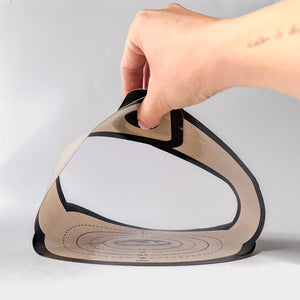
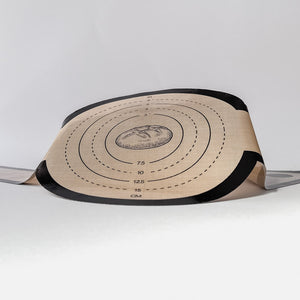
Before you start, prepare your kitchen tools and weigh your ingredients. A Danish whisk is ideal for mixing ingredients. For rising and easy handling, I recommend using a Teflon sheet, from which the rolls will peel off beautifully after baking.

Simple Recipe for Homemade Rolls
Ingredients
- 550 g Classica Flour (or try a mix of 500 g Classica and 50 g L’Integrale for a rustic flavor)
- 13 g Salt
- 9 g Sugar
- 275 g Lukewarm water
- 25 g Fresh yeast
- 22 g Sunflower oil
To sprinkle: coarse salt, caraway seeds, or poppy seeds (sunflower seeds, nigella seeds, flax seeds, sesame seeds, crushed pumpkin seeds)

Keep your ingredients at room temperature. If you use ice-cold water or yeast directly from the fridge, the fermentation process (rising) will slow down significantly and the rolls will not have the correct lightness.
Preparation Procedure
- Starter in the well: Pour the flour into the mixer bowl - sifted, of course, along with the salt and sugar. Mix thoroughly. Create a well in the middle, pour in the lukewarm water, and crumble in the yeast. Mix a little flour into the liquid to form a thin paste. This step is called preparing the "omládek" (yeast starter); let it rise for 10 minutes.
- Kneading: Knead everything in the mixer into a compact mass. Add the oil and knead at medium speed for 10–12 minutes. The dough must be smooth and elastic. If kneading by hand, use a Danish whisk for the initial combining.
- Rising: Cover with a towel and let rise in a warm place for 1 to 1.5 hours until the dough has doubled in volume. During this time, you can gently degas it once (work it slightly to push out gas bubbles).
- Pizza trick: Roll the risen dough into a large round sheet about 45 cm in diameter. Cut it into 12 equal triangles like a pizza.
- Rolling: Firmly roll each triangle from the wide side to the tip. Roll the cylinder slightly with your palms to secure the seams. The tip must always be underneath the dough.
- Second rise: Place the rolls on a baking sheet with a Teflon sheet. Let them rise under a towel for another 20–30 minutes.
- Baking: Preheat the oven to 210 °C with a small pan of water at the bottom. Spray the rolls with water using a spray bottle just before placing them in the oven, sprinkle with salt, and bake for 13–18 minutes until golden brown.
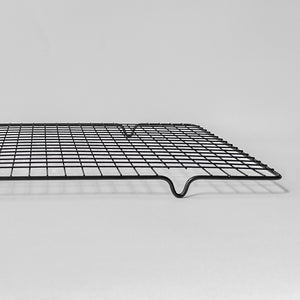
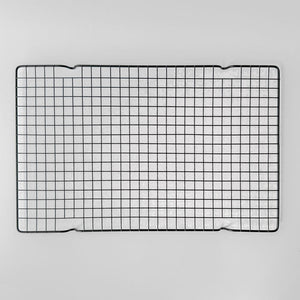
Immediately after taking them out of the oven, spray the rolls again with water from a spray bottle and let them cool on a cooling rack. The water will evaporate and create that beautiful fine vein-like pattern on the surface.
Bake traditional rolls today
With our Classica flour and Teflon sheet, you can do it without sticking and with the certainty of a perfect result. Stop buying rubbery pastries and start baking at home.
Frequently Asked Questions about the recipe
Why did my rolls crack in the oven?
The most common cause is the dough not rising enough before baking. If a roll "shoots off" and cracks on the side in the oven, it went in too early. The dough inside still had too much strength, and the sudden expansion of gas tore the surface, which had already begun to harden. Next time, leave the rolls on the tray for 10 minutes longer to allow the tension in the gluten network to relax.
How can I ensure that homemade rolls aren't rubbery the next day?
Rubbery pastries are caused by starch retrogradation (the process where starch in the pastry releases water and crystallizes after baking). You can prevent this by choosing a high-protein flour and adding fat. In our recipe, oil plays this role. It is also important to cool the rolls properly on a rack after baking so they don't get soggy from their own steam.
Can I use sourdough instead of yeast?
Yes, but technically it would no longer be a simple recipe for homemade rolls for beginners. Sourdough (a natural ferment from flour and water) works much more slowly. If you want sourdough rolls, you must account for a total rising time of 6 to 8 hours. The advantage, however, will be a longer shelf life and better digestibility due to the breakdown of complex carbohydrates by lactic acid bacteria.
Proper preparation is the key to success. Try this recipe and you'll see that the scent of fresh bread will change the atmosphere in your home. If you want to make your baking even easier, I recommend our Super Sets, where you'll find everything you need in one package. And if you want to see the rolling technique in person, I'll see you at one of our baking classes in Prague.
Bon appétit, Mari Peče
Read more
Postup
Jak na to krok za krokem
Tipy od Mari
Krásné pečení a ať se po výsledku zapráší.
Mari








Diskuze a hodnocení (2)
Milá Anetko, máme radost, že se to povedlo. <3 Zdraví tentokrát Alenka
@Anet
skvělý:)