Why does cheesecake crack? 7 rules for baking the perfect cheesecake
May 01, 2026

Baking a cheesecake is a nightmare for many home bakers. Either a deep crack forms in the middle, or the cake collapses like a house of cards after being removed from the oven. If you're wondering why your cheesecake cracks, you're not alone. The good news is that it's not bad luck; it's physics. Today, I'll reveal 7 rules for how to bake a perfect cheesecake that will be as smooth as a mirror.
Want to feel confident in the basics of baking and understand your flour? Download our free leaven e-book, where I'll guide you through the world of baking step by step.
1. Room temperature isn't a recommendation, it's a law
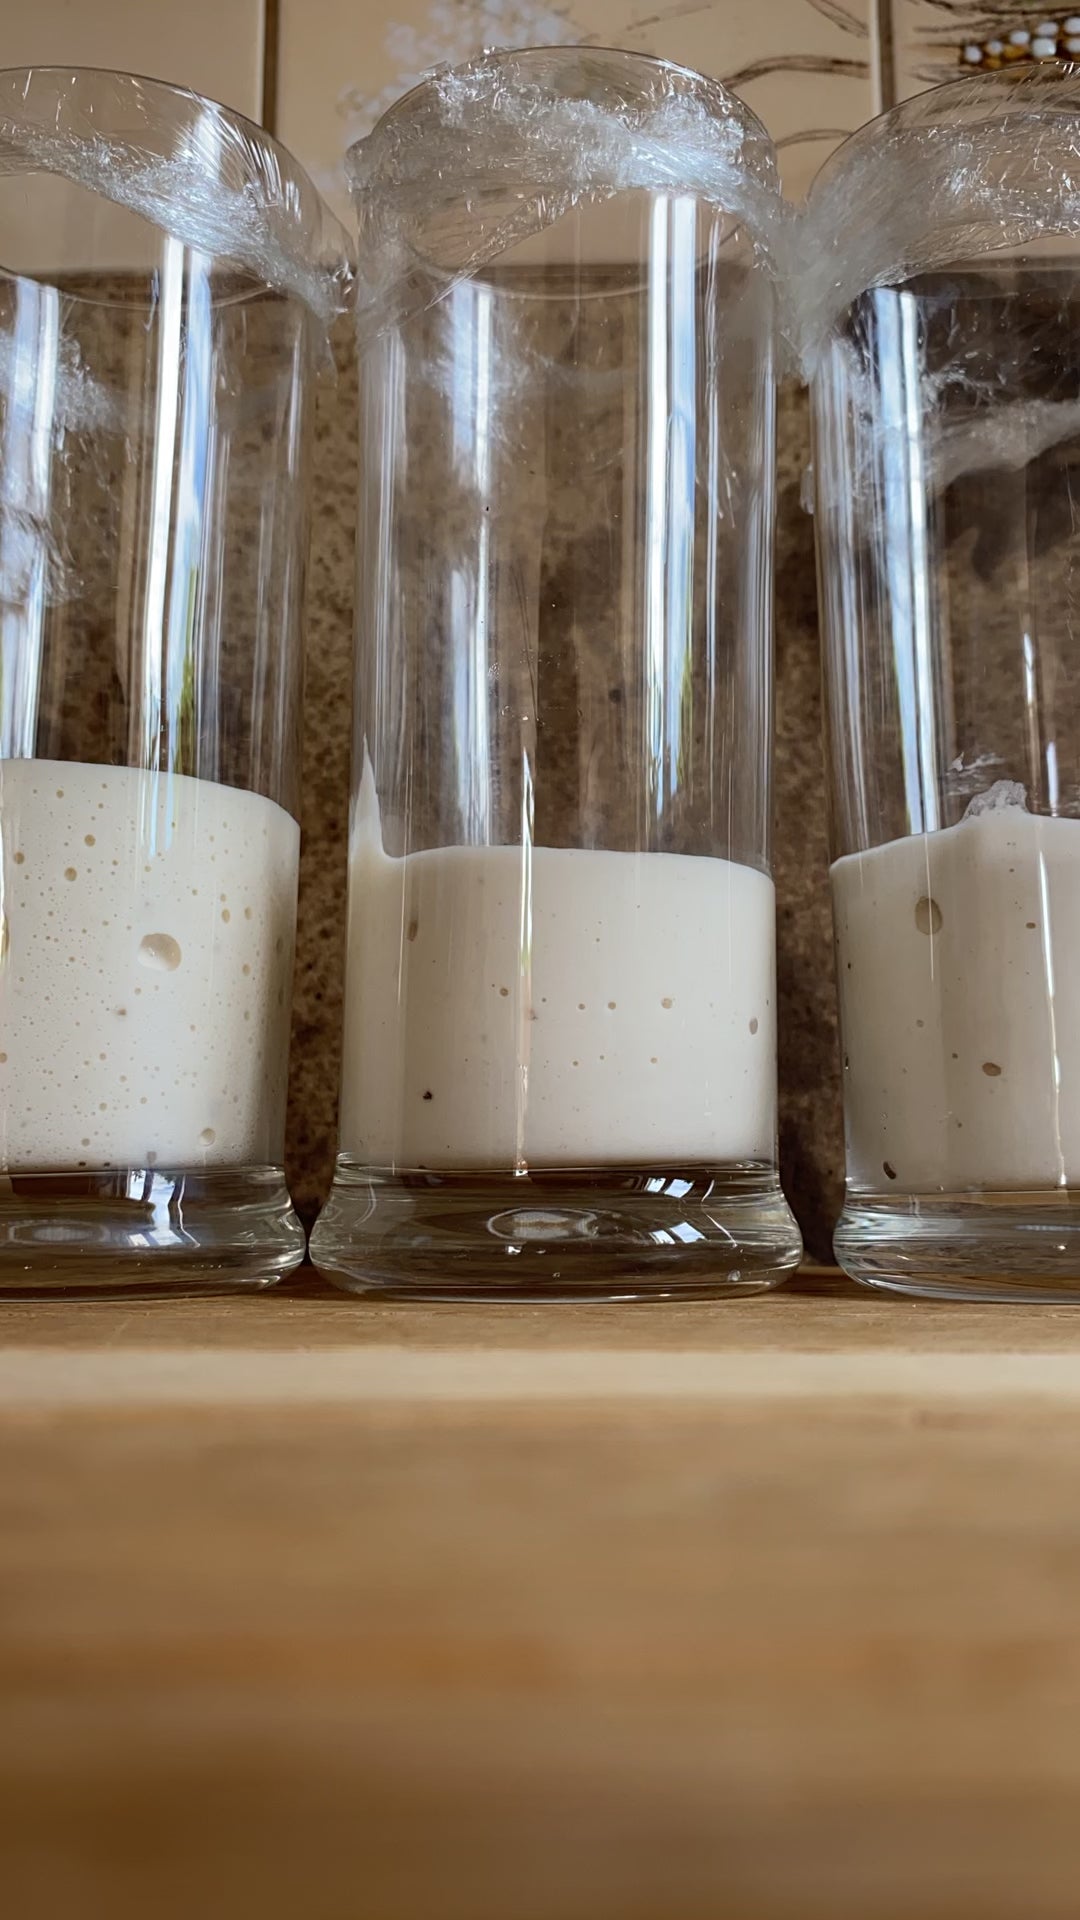
This is the most common pitfall. All ingredients – curd, cheese, eggs, and cream – must be at the same temperature. If you crack a cold egg from the fridge into curd at 20 °C, the mixture will curdle. Small lumps will form, which heat unevenly in the oven and cause tension, resulting in a crack.
2. Forget about whisking (Cheesecake isn't a sponge cake)
We don't want to aerate the cheesecake. We want a creamy, dense consistency. If you whisk the filling at high speeds, you drive air into it. That air expands like a bubble in the oven and then logically collapses during cooling, tearing the surface. Just mix the ingredients slowly with a whisk or a paddle attachment on the lowest speed.
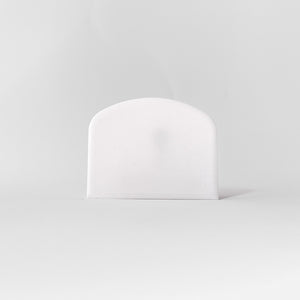
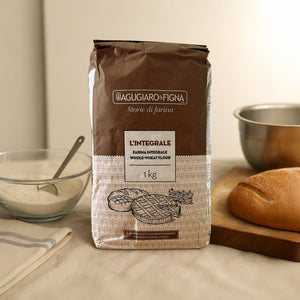
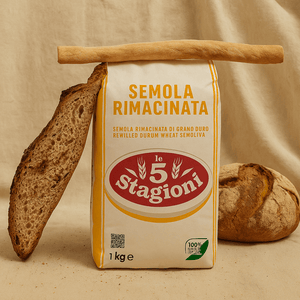
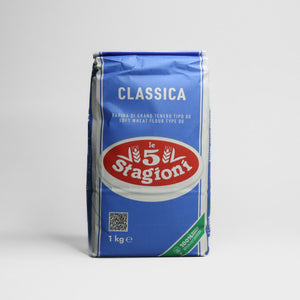
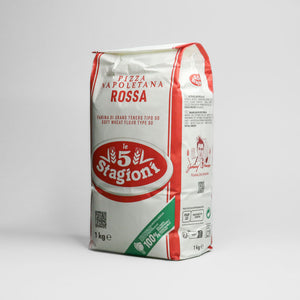
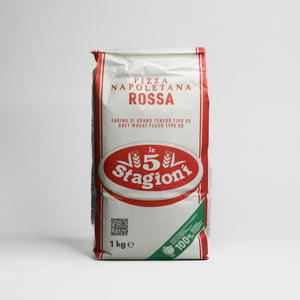
3. A stable crust thanks to Classica flour
Even if the filling is creamy, the biscuit crust must be stable. I always add a spoonful of our Classica flour to the crushed biscuits with butter. The base then doesn't crumble when sliced and creates a solid support that doesn't let moisture from the filling seep down.
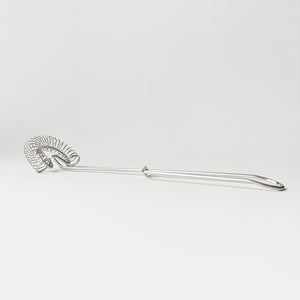
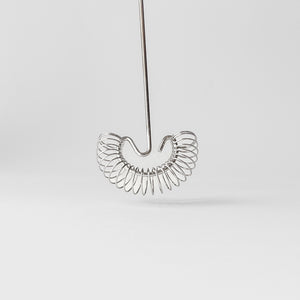
Tip from Mari
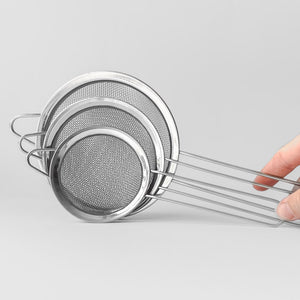
![]()
Before you start mixing the cream, press the block curd through a fine sieve. This gets rid of lumps without the need to over-whisk the filling.
4. A water bath for gentle heat
If you want a surface as smooth as a mirror, place a roasting pan with hot water at the bottom of the oven. The moisture in the oven prevents the cheesecake surface from drying out. This keeps it flexible, prevents hardening, and ensures the inside is baked through.
5. Don't overbake it! Watch for the "jiggle"
The cheesecake shouldn't stay in the oven until it's completely firm. How to tell when it's done? When you gently shake the pan, the edges must be firm, but the center must still jiggle like a thick pudding or jelly. The cheesecake will "finish" with residual heat during cooling.
6. Freeing it from the sides of the pan
This is a trick few people know. As soon as you take the cake out of the oven, run a thin knife around the edges of the pan. This "unsticks" the cheesecake from the walls. As the cake cools, it shrinks. If it stays stuck to the sides of the pan, tension builds up, causing it to tear in the middle. It’s a different story if you are baking on parchment paper.
7. Patience is the most important ingredient
Temperature shock is a killer. Let the cheesecake cool in the turned-off, cracked-open oven for at least an hour. Then let it finish on the counter at room temperature. Only after it has completely cooled should it go into the fridge (for at least 6, ideally 12 hours). Don't rush it; you'll be rewarded with a texture that melts on your tongue.
Now you know how to bake a perfect cheesecake. Just flip to our recipe and get started! May your cheesecake be a success.
Mari