Baking bread in the oven
Mar 17, 2026

Is your bread maker loaf not quite what you imagined? Is the crust thick and dull, the crumb dense, and the shape... always that same brick?
Switching from a bread maker to baking bread in a conventional oven is easier than you think. All it takes is knowing a few technical principles, understanding what actually happens inside the oven, and choosing the right flour. In this article, I'll show you everything. From 5 golden rules to a specific rustic sourdough recipe you can master this very weekend.
And if you're wondering how to correctly set your oven so the bread doesn't dry out, or what to watch out for during baking, you'll find the answers right here.
Just starting with sourdough? Download our free levain e-book, which contains everything you need for the first step.
Baking bread in the oven: Why it’s worth it
It might feel like a big step, but there’s absolutely nothing to fear. Baking bread in the oven gives you something a bread maker never can—control. Control over the shape of the loaf, the crust, and the crumb. You can shape, score, or work wonders with steam. The result? Bread that looks and tastes like it came from an artisanal bakery.
How to switch from a bread maker to oven baking
I once fell for the charm of the bread maker too. It was a great gateway into the world of baking, but I soon hit the limits. For both of us. What bothered me most was the mixing paddle, which literally had to be dug out of the crumb after baking, leaving unsightly holes. The second reason was the shape. We didn't want to keep eating "toast bricks." I wanted a proper loaf with a crispy crust that looked like real bread.
My transition was gradual. First, I told myself I’d use the bread maker just for kneading and proofing, and I’d bake in the oven. That alone was a huge jump in quality. Eventually, I switched to full manual preparation. Kneading in a stand mixer, proofing in a bowl and banneton. Why? Why let another appliance take up space on the counter when I already have the best tools at home?
5 golden rules for baking bread in the oven
If you're worried your bread won't "spring" in the oven or will turn out hard, stick to these five technical principles. Unlike a bread maker, an oven needs your assistance, but it rewards you with results a machine can never match.
1. Forget about convection (at least at the start)
Many beginners make the mistake of turning on the fan immediately. Convection acts like a hair dryer, quickly drying out the surface of the dough with its airflow. The crust hardens before the crumb inside has a chance to rise, and the bread stays small or cracks in unwanted places.
- The Solution: Always bake using the top/bottom heat setting. It provides radiant heat that is gentler on the pastry. Steam will also help (see rule #3).
2. Temperature shock is a must
Don't be afraid to turn that dial all the way to the right. When you put the bread in the oven, it needs a "slap" of heat to jump (known as oven spring). High temperature (250°C) causes the gas bubbles from proofing to expand rapidly and forcefully. It’s literally "an elevator for your bread."
- The Solution: Pre-heat the oven to 250°C (or your oven's maximum). Only after 10–15 minutes of baking should you lower the temperature to 200–220°C for even baking.
3. It won't work without steam
Have you noticed that bread maker bread is often dull with a thick crust, while oven-baked bread shines, has blisters, and crunches? That’s the work of steam. Steam acts as a temporary shield, telling the future crust: "Don't harden yet, stay elastic!" This gives the dough inside precious time to breathe and grow.
- The Solution: Place an old tray at the bottom of the oven. When you put the bread in, throw a cup of water (or ice cubes) onto the hot tray and quickly close the door. A water sprayer also works great.
4. Never put dough on a cold tray
A standard home oven isn't a professional deck oven; it loses heat almost instantly when the door is opened. If you place dough on a "lukewarm" tray, the bottom of the bread gets a lukewarm shower instead of a heat shock. We need the hot surface (stone or cast iron) to act like a hotplate and immediately seal the bottom.
- The Solution: Bake on a pre-heated surface. A cast iron Dutch oven (which simulates a small professional oven) is ideal.
5. Flour as a safety net for success
In a bread maker, the tin holds the dough together no matter what. In an oven, the dough must fight gravity and hold its shape on its own. While you can bake with basic store-bought flour, professional flours offer the elasticity and strength needed for a perfect loaf.
- The Solution: Use flours with high-quality gluten. Our Sourdough Bread Flour Set was specifically curated for oven baking.
Why flour matters when baking in the oven
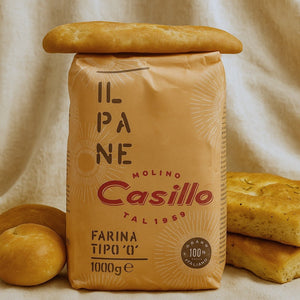
- Il Pane: A strong wheat flour that acts as "scaffolding," helping the loaf hold its shape without a tin.
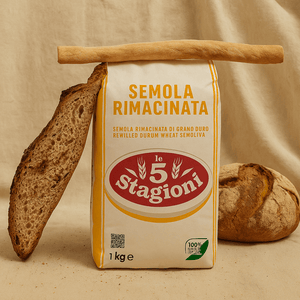
- Semola Rimacinata: Durum wheat flour that ensures a golden, rustic crust.
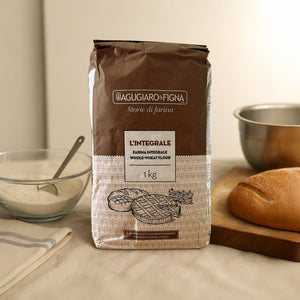
- L'Integrale: Adds moisture and a sweet undertone to the crumb.

Rustic Oven Bread – Step-by-Step Recipe
Ingredients
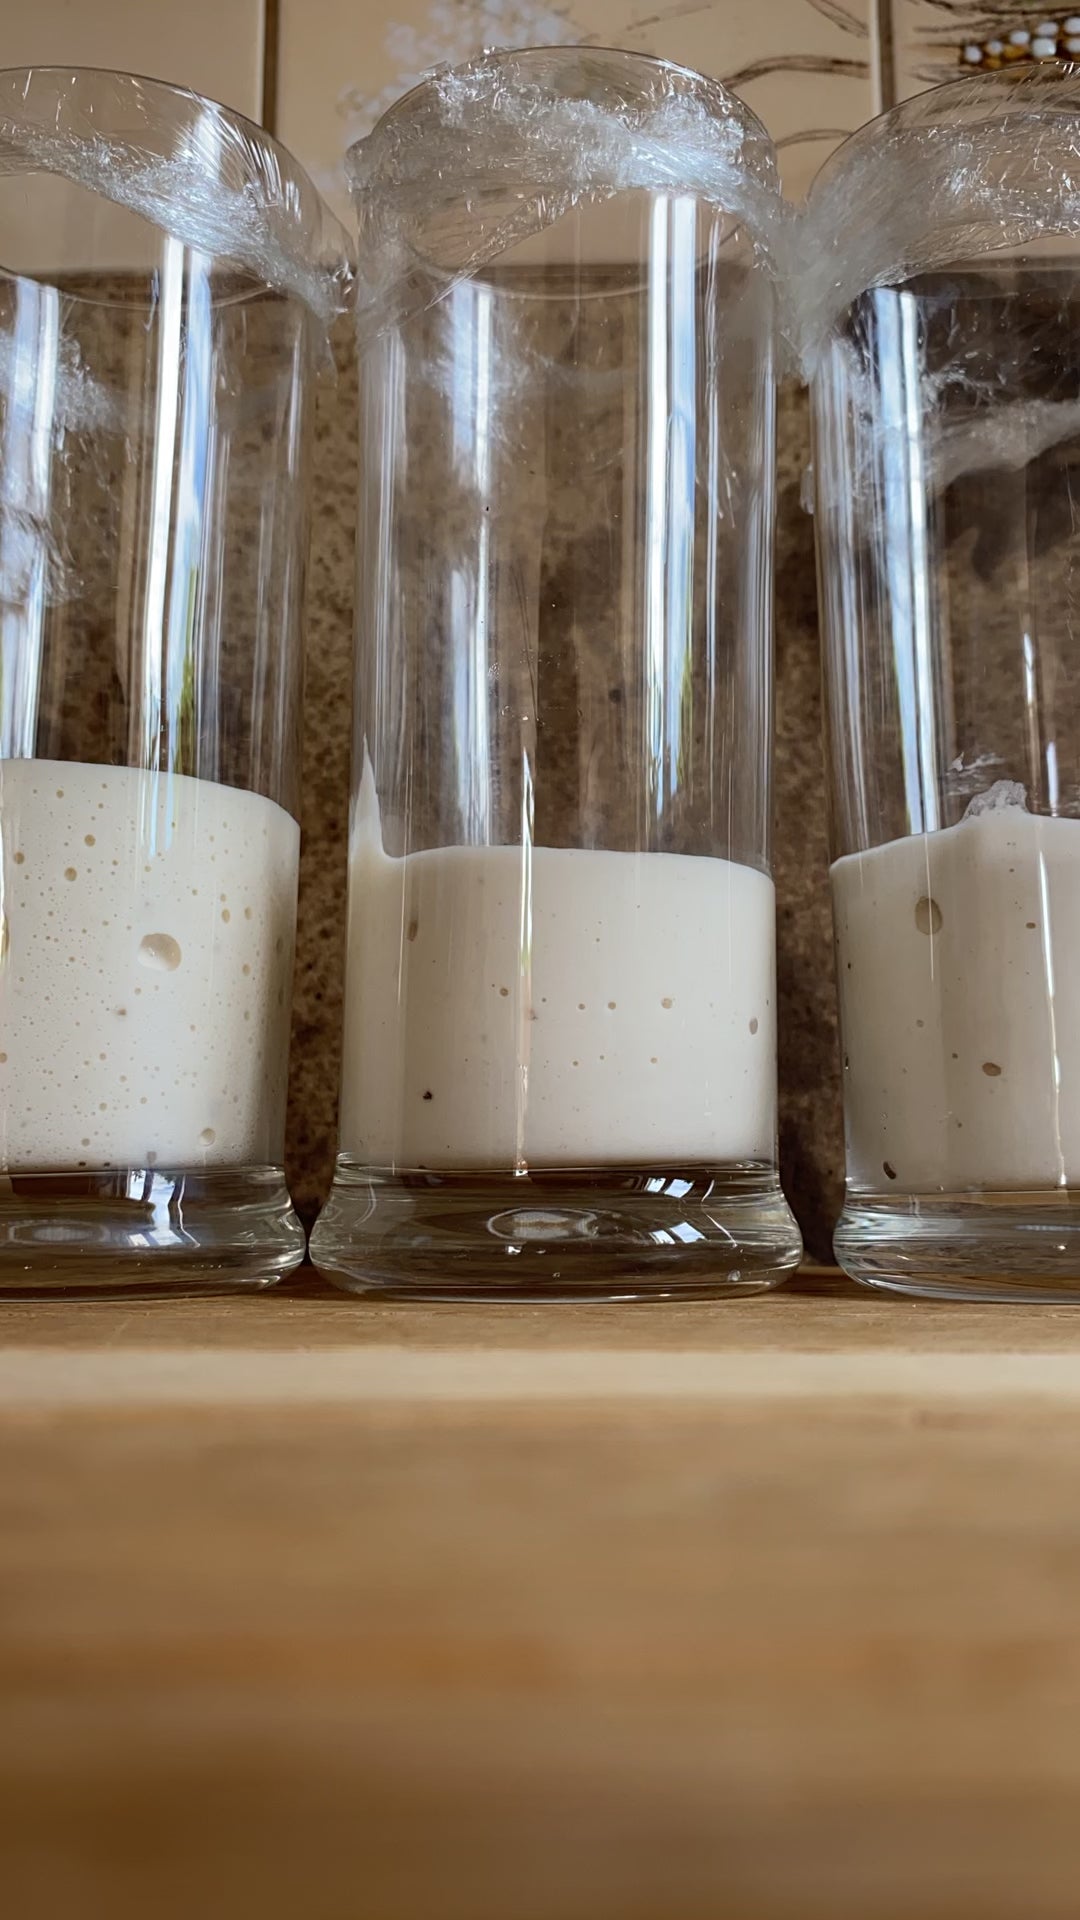
Levain (prepare 8–10 hours ahead):
- 100 g water
- 100 g Il Pane flour
- 1 tbsp active starter
Main Dough:
- 250 g Il Pane flour
- 100 g Semola Rimacinata flour
- 50 g L'Integrale flour
- 270 g lukewarm water
- All of the prepared levain
- 10 g salt
Preparation
- Autolyse (45–60 min): Mix the three flours with water into a shaggy mass. Cover and rest.
- Kneading (8–10 min): Add levain and salt. Knead until smooth and elastic.
- Bulk Fermentation & Folds (3–4 hrs): Let it rise, folding the dough twice during the first hour to build strength.
- Shaping & Banneton: Shape into a loaf, place in a banneton, and refrigerate for 12–24 hours (retardation).
- Baking: Pre-heat the oven to 250°C with a Dutch oven inside. Bake for 15 min covered, then lower to 220°C and bake for 25–30 min uncovered.
![]()
No Dutch oven? No problem. Pre-heat a standard tray. When you put the bread in, throw a few ice cubes into an old pan at the bottom of the oven. This creates the steam essential for a great crust.
Frequently Asked Questions
Can I bake bread without a Dutch oven?
Yes, absolutely. While a Dutch oven is ideal for holding steam, you can achieve great results by pre-heating a baking stone or tray and creating steam manually using ice cubes or a water tray.
Why is my bread not rising (no oven spring)?
Common causes include an under-heated oven, lack of steam in the first 15 minutes, or a cold baking surface. Also, ensure your starter was active enough before mixing.
Happy baking! Warmly, Mari
Read more